|
Listen:
Getting your Trinity Audio player ready...
|
One of the most important and overlooked factors of maintaining a healthy aquarium is the routine partial water change. Most aquarists know they should do water changes, but not everyone has a fixed schedule of when and how much water should be replaced.
Why are water changes needed?
• In an established aquarium, ammonia (decaying food and fish waste) is broken down by bacteria to nitrite, and nitrite is then further broken down to nitrate. Although nitrate is the least toxic it does build up over time if left unchecked. Water changes are the most effective way of removing nitrate from the aquarium.
• Poor water quality is often the root cause of various diseases and health problems. It can also lead to infections on injured fish.
• The build-up of nitrates in the aquarium can inhibit the growth of your fish and reduce their color and vitality.
• Minerals and trace elements are depleted over time. Water changes replenish the minerals and trace elements which are required for your fish to stay healthy.
How Much, How Often?
There is no standard answer to the question of how much water to exchange, or how often. It depends on several factors including the size of your tank, number of fish, feeding schedule and filtration system.
For example, in a tank with larger fish or fish that produce a lot of waste, larger volume and more frequent water changes will be need than for a lightly stocked tropical community tank.
Testing for nitrates is an effective way to measure your water quality. Ideally the nitrate level of your tank should be kept below 40ppm. With regular testing you will be able to determine and setup the water change schedule needed to keep below the 40ppm threshold.
A weekly water change of 10-20% is preferred over a 50% monthly change as there is less of a sudden change in water chemistry and stress on the fish.
Remember, replacing water lost due to evaporation does not count as a water change. This is simply “topping off” the aquarium. When water evaporates, all the waste, nutrients, chemicals, and other materials are left behind in the tank at a more concentrated level. This pollution must still be removed with a water change.
Changing the Water
To begin you will need to prepare the water which you will be using to re-fill your aquarium. You want the new water to be as close as possible to the old water you will be removing, especially in regards to temperature, salinity, and pH. If you are using tap water, you can add dechlorinator to remove the chlorine and chloramines. Calculate and add the amount of water conditioner needed to treat the whole tank, not just the volume of new water being added. Use a spare heater if it is necessary to raise the temp of the replacement water.
Tip: Letting the new water sit in a bucket for a day with an air-stone running will help to dissipate dissolved gasses and will allow the pH to stabilize before the water is added to the tank.
Before you start removing the water you should power off some equipment such as heater, filter, circulation pumps, protein skimmer which could be damaged if they run dry.
When siphoning out the old water, vacuum the substrate at the same time. That way you get rid of some of the junk that is building up at the bottom of the tank. You can also rake the substrate with your fingers to dislodge some of the detritus, which can then be removed during the siphoning process.
When the siphoning is finished the new water can then be added to tank to bring the water back up to the required level.
My Simple DIY Water Changer
For carrying out water changes on small tanks a hose and bucket is sufficient but for large tanks it can be a backbreaking task. To make things a bit easier on myself I have designed this simple water changer that I would like to share with you.
Things you will need: 1) Filter tube and intake strainer. 2) Length of hose.
3) Fitting to secure hose to water tap or faucet.
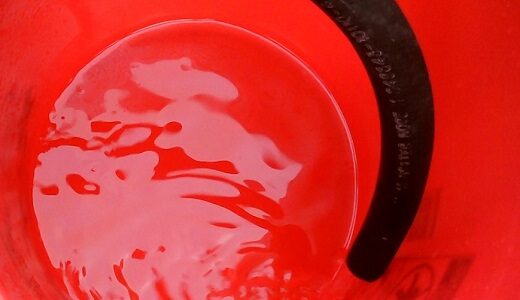
The below image shows the filter tube and intake strainer. This is a generic type U bend filter tube and available at most aquarium shops. I have a few of these tubes cut to different lengths depending on the size of water change being carried out. The great thing about this is that once you start the siphon it will continue until it reaches the intake strainer then it will stop.


Below is the fitting I am using to connect the hose to my water mixer. The hose to the tank will be connected to the end of the filter tube off-cut.

Water conditioner is added directly to the tank before filling up the aquarium with new water.


I then fill up the tank directly from the water mixer.
Once the tank is full I switch off the tap and remove the filter intake and hose from the aquarium before disconnecting the hose from the water mixer.
The water conditioner I use and recommend is Seachem Prime.
